
Guide to Repair Crack in Concrete Wall for Lasting Results 2026
Cracks in concrete walls can be more than just an eyesore. Ignoring them puts your property at risk, as even a small crack can quickly turn into a major structural issue. Water can seep in, mold can develop, and your home's value may drop if you delay action.
However, when you take the time to repair crack in concrete wall correctly, you gain lasting peace of mind and protect one of your biggest investments. This comprehensive 2026 guide is designed for homeowners and property managers who want durable, professional-quality results.
Here, you'll learn about the causes of cracks, how to assess their severity, step-by-step repair methods, prevention strategies, and expert tips to keep your property safe and strong.
Understanding Cracks in Concrete Walls
Cracks in concrete walls are more than a cosmetic issue. They can signal underlying foundation problems, create pathways for water intrusion, and threaten the long-term stability of your property. Before you attempt to repair crack in concrete wall, it's crucial to understand the types, causes, and severity of these cracks.
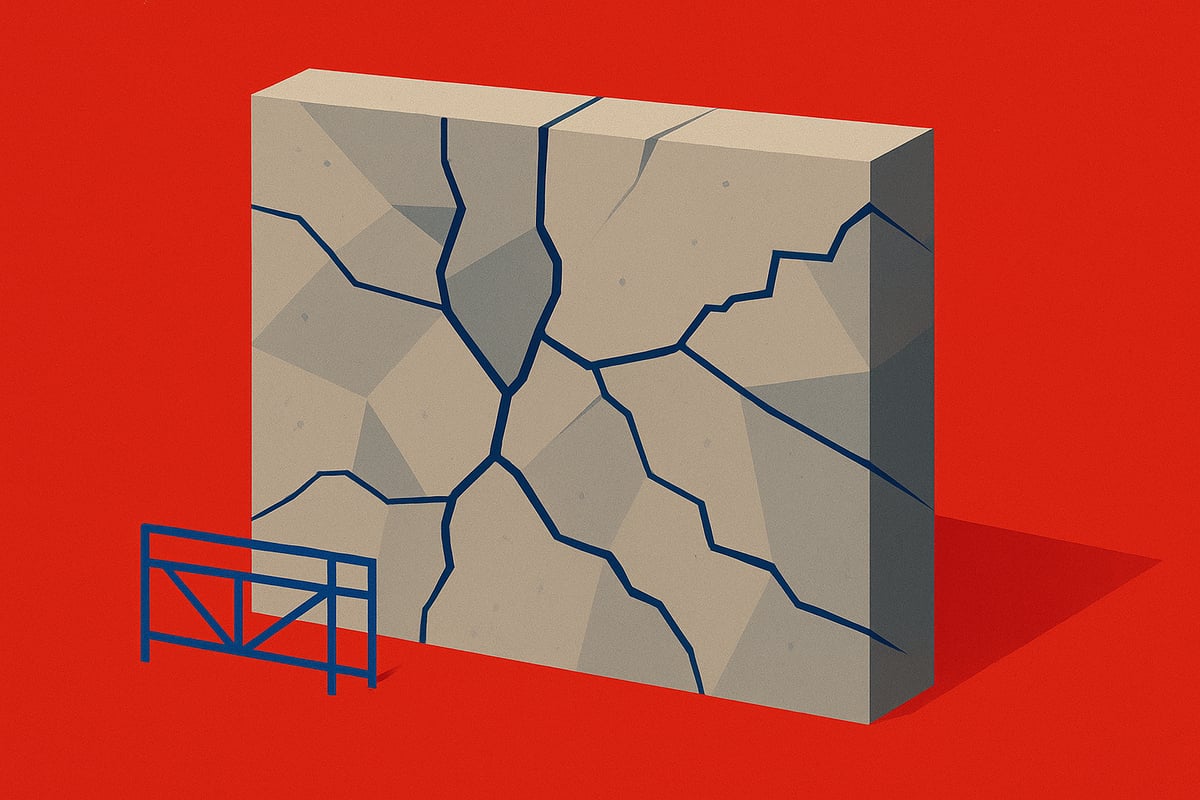
Common Types of Concrete Wall Cracks
Concrete walls can develop several types of cracks, each with distinct visual patterns and causes. Vertical cracks often result from normal settlement, while horizontal cracks are typically caused by hydrostatic pressure from saturated soil. Diagonal or stair-step cracks may indicate differential settlement or shifting foundations. Shrinkage cracks are usually thin and appear as the concrete cures. Distinguishing between active cracks, which continue to move or widen, and dormant cracks, which have stabilized, is vital when planning to repair crack in concrete wall. Horizontal cracks, especially in block walls, are often a sign of serious structural issues, according to Groundworks.
Causes of Cracks in Concrete Walls
Understanding why cracks form helps you address root problems, not just the symptoms. Foundation settlement due to shifting or expansive soils, moisture fluctuations, and poor soil compaction are leading causes. Hydrostatic pressure from waterlogged ground can force walls to bow or crack. Freeze/thaw cycles, particularly in regions like Colorado, place additional stress on concrete. Poor construction practices, such as inadequate reinforcement, also contribute. Expansive clay soils are responsible for most foundation movement in the U.S. For a deeper dive into underlying issues, visit Common foundation problems explained. Before you repair crack in concrete wall, it's important to identify the exact cause.
Assessing Severity: Cosmetic vs. Structural Cracks
Not all cracks are created equal. Cosmetic cracks are typically hairline and do not affect the wall's function, while structural cracks are wider, longer, and often located near doors or windows. Cracks wider than 1/4 inch, those that grow over time, or those accompanied by bowing or bulging walls are red flags. Stairstep and horizontal cracks frequently signify foundation issues, as noted by Groundworks. Properly assessing severity is a crucial step before you repair crack in concrete wall, ensuring you choose the right approach and materials.
Why Timely Repair is Crucial
Delaying repairs can have costly consequences. Unrepaired cracks allow water to seep in, leading to mold growth and further weakening the structure. Over time, minor cracks can expand, especially after harsh winters, resulting in more significant damage. Timely action helps maintain property value, ensures safety, and can prevent insurance complications related to neglect. Addressing issues promptly is the best way to repair crack in concrete wall for lasting results and peace of mind.
Step-by-Step Guide: Repairing Cracks in Concrete Walls
Repairing cracks in concrete walls may seem intimidating, but a systematic approach helps ensure lasting results. By following these steps, you will be able to assess, repair, and preserve your investment with confidence.

Step 1: Inspect and Diagnose the Crack
Begin by thoroughly cleaning the area around the crack using a brush or vacuum. This ensures you can clearly see the full extent of the damage. Use a crack width gauge or ruler to measure the crack, and record its length and position.
To monitor movement, place a strip of glass or tape across the crack and check for changes over time. Note whether the crack is active (changing) or dormant (stable). This information is crucial before you repair crack in concrete wall, as it determines the best repair method.
If you notice wide, growing, or multiple cracks, consider seeking professional assessment before proceeding.
Step 2: Prepare the Crack for Repair
Preparation is essential for a durable repair. Remove loose debris and deteriorated material from inside the crack using a wire brush or chisel. Use a vacuum or compressed air to clear dust and particles.
Ensure the area is dry unless using a water-activated product. For best adhesion, widen the crack slightly with a chisel if needed. Always wear gloves, goggles, and a dust mask for safety while you repair crack in concrete wall.
Proper preparation prevents filler failure and helps the repair last for years.
Step 3: Choose the Right Repair Material
Selecting the right material is vital to repair crack in concrete wall effectively. Epoxy injections are ideal for structural, non-moving cracks, as they restore the wall’s integrity. For active or moving cracks, use polyurethane or flexible caulk, which can accommodate slight shifts.
Hydraulic cement provides fast-setting, water-resistant repairs, especially for leaks. Mortar or concrete patch is best for large gaps, particularly in block walls. In freeze/thaw climates, choose products designed to flex without breaking.
For a detailed comparison of methods and materials, visit Basement crack repair solutions.
Step 4: Apply the Repair Product
Follow the manufacturer’s instructions for mixing and applying your chosen product. Inject or press the filler deep into the crack, filling it from the bottom up. Use a putty knife, trowel, or caulking gun for precise application.
Smooth the surface to match the surrounding wall. Wipe away excess material before it hardens. This step is crucial as proper application ensures your repair crack in concrete wall is seamless and watertight.
Allow the product to set fully before moving on.
Step 5: Finishing and Curing
Curing time varies by product, typically ranging from 24 to 72 hours. Do not rush this step, as proper curing is essential for strength and longevity. For deep or wide cracks, a second application may be necessary.
Once cured, sand the patched area lightly or paint to blend with the wall. Continue to monitor the area for new movement or water intrusion. Document the repair crack in concrete wall with photos and notes for future reference.
A neat finish not only looks professional but also protects against future issues.
Step 6: When to Call a Professional
Some situations require expert help. If the crack is wider than 1/2 inch, runs horizontally, or the wall is bowing, contact a structural specialist. Evidence of water leakage, mold, or repeated failures after repair are also clear signs to seek professional advice.
Professionals use advanced techniques like carbon fiber, wall anchors, or pier systems to repair crack in concrete wall and address underlying causes. Local expertise is especially important in regions with challenging soils or climate.
Never ignore warning signs—prompt action can save your property’s value and safety.
Permanent Repair Methods for Lasting Results
When you want to repair crack in concrete wall permanently, selecting the right method is critical. Long-term success depends on addressing the underlying cause, choosing suitable materials, and following best practices. Below, we break down the most effective techniques professionals use to ensure cracks do not return.
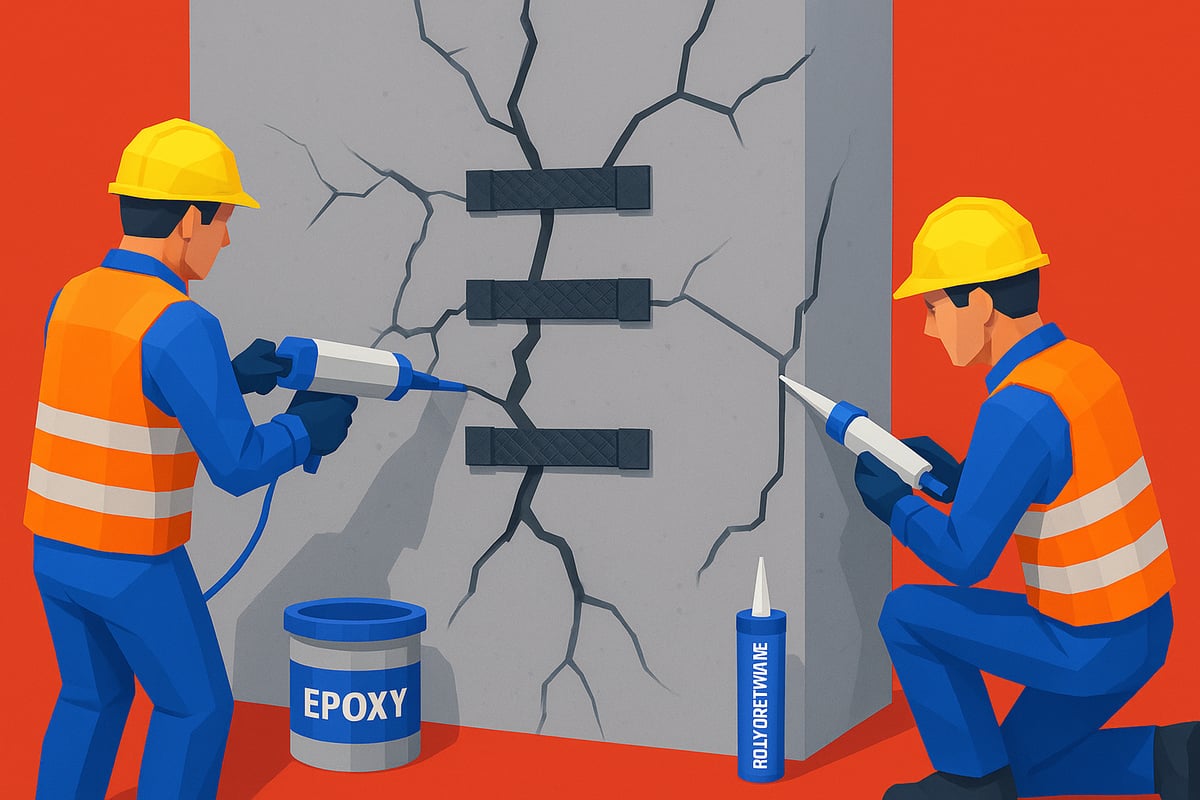
Epoxy Injection for Structural Cracks
Epoxy injection is a leading choice to repair crack in concrete wall when the damage is non-moving, vertical, or diagonal. This method involves sealing the crack’s surface, inserting injection ports, and slowly injecting epoxy resin under low pressure. The epoxy bonds the concrete, restoring its structural strength. While this technique is highly effective for cracks from settlement or shrinkage, it is not suitable for cracks caused by ongoing movement or shifting foundations.
Professionals often use this method in both residential and commercial settings, achieving a permanent fix if the underlying cause is stable. For more details on advanced products and techniques, see Foundation wall repair methods.
Polyurethane Sealants for Active Cracks
If you need to repair crack in concrete wall that is still moving, polyurethane sealants are often the best solution. These flexible materials expand and contract with the wall, accommodating minor shifts from freeze and thaw cycles or soil movement. Polyurethane sealants are water-resistant and suitable for both interior and exterior walls, making them ideal for climates with seasonal changes.
Application usually involves a caulking gun to inject the sealant deep into the crack. The result is a watertight seal that helps prevent moisture intrusion and further deterioration, especially in areas prone to temperature swings.
Carbon Fiber Reinforcement
For early-stage bowing or when you repair crack in concrete wall that is wide but not actively moving, carbon fiber reinforcement is a modern, non-invasive solution. Installers bond carbon fiber straps to the wall using epoxy, creating a support system that is much stronger than steel but remains low-profile and nearly invisible after finishing.
Carbon fiber does not correct severe wall misalignment, but it stops further movement and helps stabilize the structure. This method works for both poured concrete and block walls and is gaining popularity due to its durability and minimal disruption during installation.
Wall Anchors and Steel I-Beams
Severe bowing or shifting may require wall anchors or steel I-beams when you repair crack in concrete wall. Wall anchors are embedded in stable soil outside the foundation, then tightened to pull the wall back into alignment. Steel I-beams, such as IntelliBrace systems, are installed inside to provide ongoing support and can gradually straighten the wall over time.
These solutions are effective for significant structural issues, especially in block walls or foundations affected by hydrostatic pressure. Many systems require no exterior excavation, reducing disruption to landscaping or driveways.
Hydraulic Cement and Mortar Patching
When you repair crack in concrete wall that is leaking or has wide gaps, hydraulic cement or mortar patching can provide a rapid, water-resistant fix. Hydraulic cement expands as it cures, locking itself into the crack and stopping water flow. Mortar patching is ideal for repairing joints or larger voids in block walls.
Although these materials are not structural solutions for moving cracks, they are perfect for sealing out moisture and preventing further surface damage in basements, garages, or utility rooms.
Limitations of DIY and Temporary Repairs
While it might be tempting to repair crack in concrete wall with DIY kits or surface caulk, these solutions often only mask deeper problems. Surface sealants and patch kits do not address underlying soil movement or structural shifts. As a result, cracks may reappear, and water can still find its way inside.
Professional assessment is recommended for any recurring or serious cracks. Data shows that temporary repairs have a high failure rate and frequently lead to larger, more expensive repairs later. Investing in a comprehensive, permanent repair method from the start protects your home’s value and your peace of mind.
Preventing Future Cracks in Concrete Walls
Preventing cracks in concrete walls is essential for long-term property stability. A proactive approach will help you avoid costly repairs and ensure your investment remains protected. By understanding the factors that contribute to cracks, you can put effective strategies in place to minimize damage and reduce the need to repair crack in concrete wall surfaces.
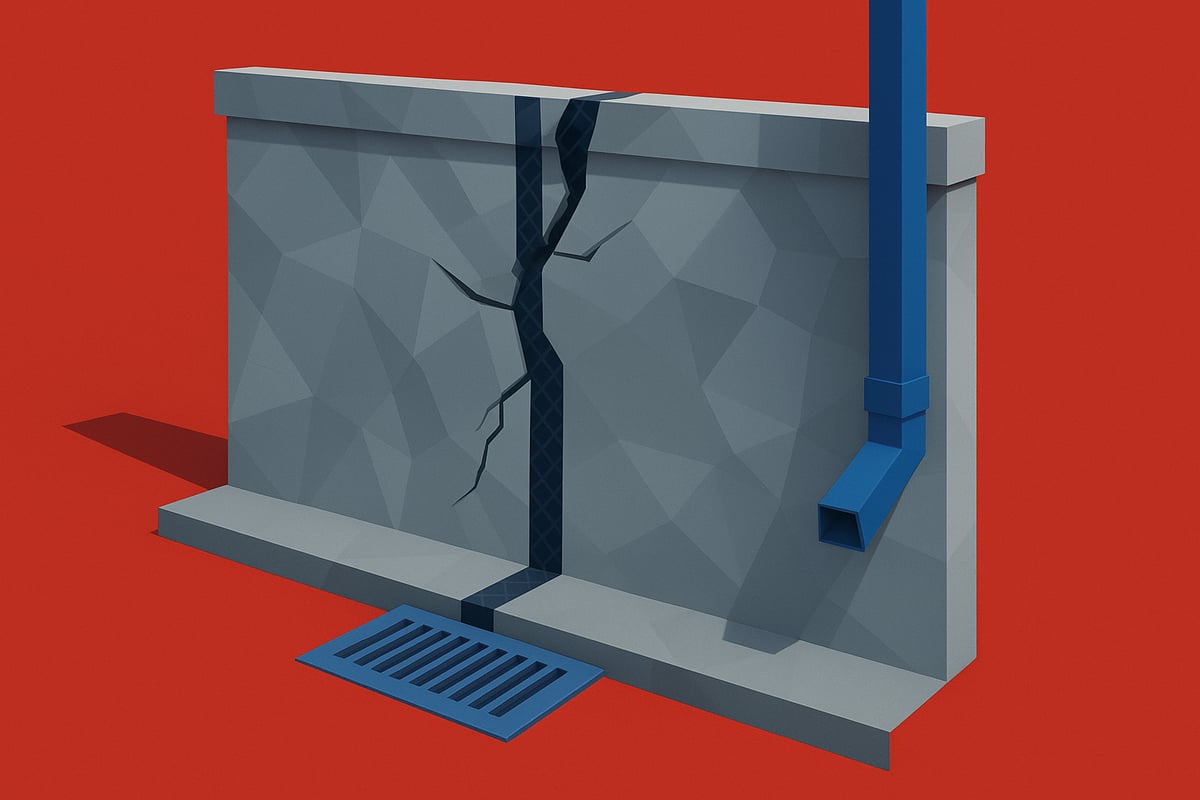
Managing Soil Moisture and Drainage
Controlling soil moisture is a critical step to prevent the need to repair crack in concrete wall areas. Poor drainage causes soil to expand and contract, putting stress on foundations and leading to cracks.
-
Grade the landscape so water flows away from your home.
-
Install gutters and downspouts to channel water safely.
-
Use French drains to manage runoff and prevent pooling near walls.
-
Keep soil moisture consistent by avoiding overwatering or letting it dry out completely.
-
Do not plant trees or shrubs too close to the foundation.
Statistics show that poor drainage is one of the leading causes of foundation cracks. Regularly checking your property's grading and drainage systems will minimize future risks.
Addressing Hydrostatic Pressure
Hydrostatic pressure from saturated soil is a major reason homeowners must repair crack in concrete wall surfaces. To prevent this, waterproofing your basement and foundation is essential.
-
Apply waterproof coatings to basement walls and floors.
-
Use vapor barriers to block moisture intrusion.
-
Install sump pumps and interior drain systems for water management.
-
Inspect for leaks or damp spots after storms.
For more details on effective basement waterproofing strategies that help prevent water infiltration, visit Basement waterproofing strategies. Taking these steps reduces the risk of horizontal cracks caused by pressure from waterlogged soil.
Reinforcing and Maintaining Walls
Ongoing maintenance is key to reducing the need to repair crack in concrete wall structures. Regular inspections help you catch minor issues before they escalate.
-
Check for new or widening cracks each season.
-
Apply protective sealers to exposed concrete surfaces.
-
Reinforce vulnerable walls with carbon fiber or steel braces as needed.
-
Promptly repair small cracks to prevent them from growing larger.
-
Schedule professional evaluations every few years.
Being proactive with maintenance not only saves money but also helps maintain your property's value and safety.
Building and Repair Best Practices
Using best practices during construction and repair ensures your efforts to repair crack in concrete wall problems will last. Always choose quality materials and follow guidelines specific to your region.
-
Select repair materials rated for concrete and local conditions.
-
Follow all manufacturer instructions and allow proper curing times.
-
Avoid shortcuts or unproven DIY methods.
-
Consult local experts who understand your area's soil and weather challenges.
For example, homes in Colorado require solutions tailored to freeze and thaw cycles, as well as expansive soils. Investing in best practices now will result in fewer cracks and less need for future repairs.
Expert Tips and Maintenance for Long-Lasting Results
Homeowners and property managers who want to repair crack in concrete wall for lasting results need more than a quick fix. Long-term durability depends on continuous monitoring, seasonal upkeep, and recognizing when to seek professional support. The tips below provide a reliable framework for maintaining concrete wall integrity and protecting your investment.
Monitoring Repaired Areas Over Time
After you repair crack in concrete wall, track its condition regularly. Use a logbook to note the date, location, and repair technique for each crack.
Simple tools like crack monitors, glass strips, or even tape can highlight movement or widening. Take clear photographs during each inspection to document any changes.
Set reminders to check repaired areas after extreme weather, such as heavy rain or rapid freeze/thaw cycles. Early detection of new or recurring cracks helps you intervene before issues escalate.
Seasonal Maintenance Checklist
Consistent maintenance is vital after you repair crack in concrete wall. Each spring and fall, walk the perimeter of your foundation and basement.
-
Inspect for new or widening cracks
-
Check for water stains or dampness
-
Clean gutters and downspouts
-
Confirm downspouts direct water away from walls
-
Assess landscaping for proper grading
Addressing these tasks seasonally can prevent small problems from becoming major repairs. Early action preserves the results of your repair crack in concrete wall efforts and keeps your property safe.
When to Re-evaluate and Upgrade Repairs
If you notice cracks returning or spreading after you repair crack in concrete wall, it may be time for advanced solutions. Warning signs include sticking doors, uneven floors, or new leaks.
Consider upgrading from basic caulks to carbon fiber reinforcement, wall anchors, or other structural methods. For detailed guidance, consult the Concrete Crack Repair Guide to compare professional options.
Timely upgrades ensure your previous repairs remain effective and your structure stays protected.
Professional Assessment: The Value of Local Expertise
Sometimes, the best way to repair crack in concrete wall is to seek help from local professionals. Experts familiar with your region’s soil and climate can identify root causes and recommend tailored solutions.
They use advanced diagnostic tools, offer access to warrantied products, and provide repair strategies that address both symptoms and underlying issues. Companies with local experience, such as those specializing in Colorado’s unique conditions, can deliver lasting peace of mind.
Cost Considerations and Financing Options
Understanding costs is crucial before you repair crack in concrete wall. Factors include crack size, severity, and chosen repair technique. DIY approaches are less expensive but may not resolve deeper problems.
Professional repairs may cost more upfront, but they protect your property’s value and reduce long-term risks. Always request a transparent estimate, ask about warranties, and explore financing options if needed. Investing in quality repairs now can help you avoid far greater expenses in the future.
